
Introduction
PowerShell and why you should be using it. If you’re not using PowerShell and you’re a system admin, it’s time to hop on that train and get started.
Windows Defender Antivirus
Windows Defender is the default antivirus that comes pre-installed on your Windows 10 PC’s. This software does a decent job of managing, scanning, and updating your machine. This could be useful for if you have a bunch of machines that just require scans.
You can start scans, updates, and many more items via the PowerShell. Everything that can be done via the Windows GUI, can easily be done within PowerShell. However, some items you can do in the PowerShell, cannot be done via the GUI. PowerShell is a software that is already installed on every PC as you can utilize it via remoting into the machine while not messing with any user’s logged in. This is great for professionals not using an RMM software. Another great thing is that it has SSH, meaning with you Linux machines, you can SSH into them straight from your PowerShell.
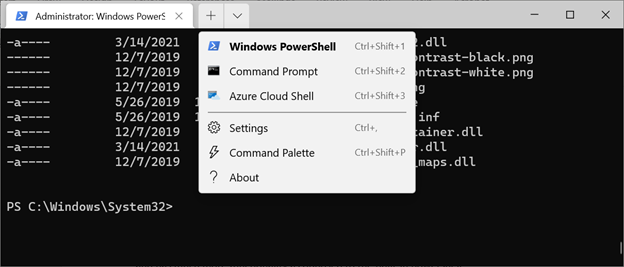
The new Windows Terminal is used for these screenshots. This can be obtained via the Microsoft store and has much more functionality as opposed to the built-in PowerShell.
Commands
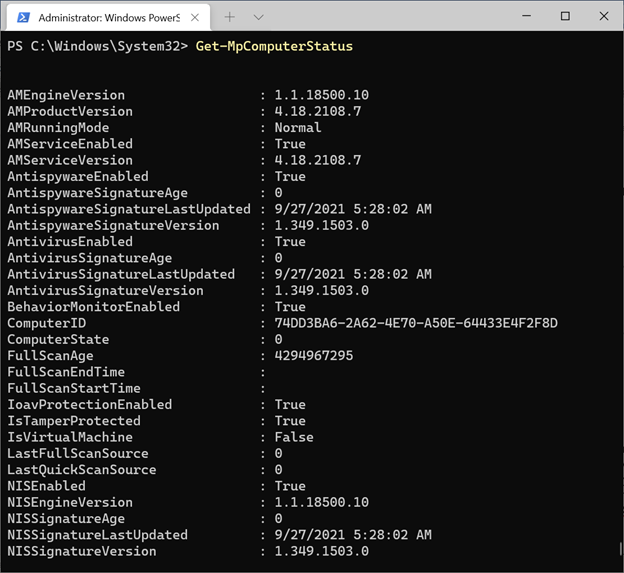
● Our first command we are going to look at is [Get-MpComputerStatus]. This will show us all of the info regarding the antivirus on the machine including Signature last updated, Signature Version, Computer ID, Quick scan start and end time, etc.
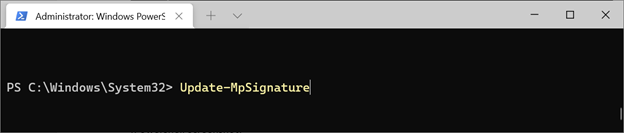
● The second command is [Update-MpSignature]. This is going to tell your PC to go out and get the latest and greatest updates.
● When wanting to scan the machine, whether it be a full scan, quick scan, or custom scan, we can easily do everything via the PowerShell. The first command we will look at will be a quick scan. The command is [Start-MpScan -ScanType QuickScan]. This will perform a basic scan looking at the areas that are most likely to be attacked by a malicious threat. Within the PowerShell, it will provide feedback as to how it is going and show the progress.
● The Full scan command is [Start-MpScan -ScanType FullScan]. Very similar but instead weare switching out the “Quick” with “Full”. This option will perform a scan on all drives and files associated with the machine making it so that it is much more thorough. With that stated, this scan will typically take much longer than the quick scan as it is going to be going through a lot more files in search of any malicious software or files on your machine.
● Our third command will be [Start-MpScan-ScanType CustomScan -ScanPath\"C:\\Users\USER\Downloads]\" with the "C:\\Users\USER\Downloads" folder being what you would change to specify exactly what you would like to be scanned. This will result in a very custom and possibly specific scan that could both be quick or long depending on what you are scanning. After these scans perform, you will be able to remove the active threats, if it detects any, using the command [Remove-MpThreat].

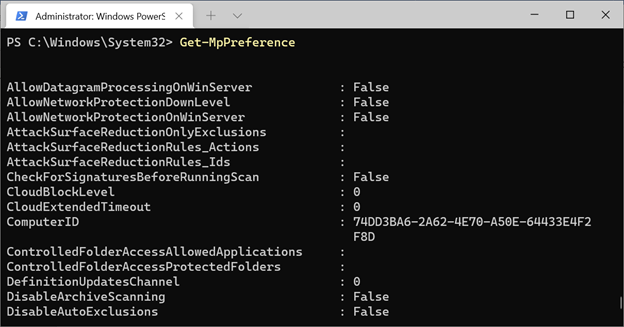
● Our next item we will be looking at is the preferences command [Get-MpPreference] to tell us all of the ways your Windows Defender is configured. One thing you can do with your preferences is to exclude something within your scan.
● This is often not recommended but could be used in case a specific application or folder is using a data file that causes issues when scanned, or messing with your scan, although you know it is a trustworthy software.
This command is [Set-MpPreference -ExclusionPath PATH\\TO\\FOLDER] or [Set-MpPreference -ExclusionExtension EXTENSION] if you are trying to exclude a specific file extension.
Full Video
SUPPORT MY WORK
TECH I USE AND RECOMMEND