

Introduction
This will be a tutorial on how to improve our search for our windows file servers, using the Windows Search Service. What we will be working with is Windows Server 2012 R2, however, this will also work for both 2016, 2019, etc.
Getting Into the Server
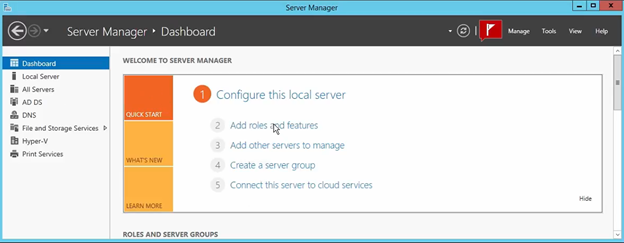
The first thing we are going to do is go to our server dashboard and add a role. To do this we are going to select the button that says, “Add roles and features”. Click “Next”, leave it on the option that says “Role-based or feature-based installation”, and click “Next” again. Then, choose your server and select “Next”. While in Server Roles, we are going to select “Next” at the bottom once again as what we are searching for is a feature. Under “Features”, we are going to search for a feature called “Windows Search Service”. Once found, click on the checkbox next to it and select “Next”. We will then click “Install” to get this installed.
Filter Pack
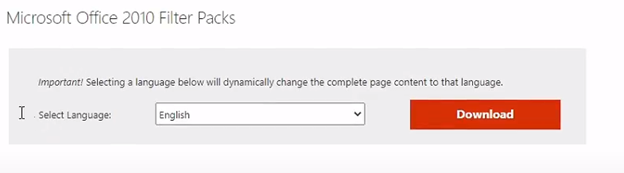
Our next item we are going to add is the filter pack. The filter pack will allow us the ability to search inside of documents. To download this, we are going to open a web browser, and navigate to this link:
● https://www.microsoft.com/en-us/download/details.aspx?id=17062
Once there, you will notice it says, “Microsoft Office 2010 Filter Packs”. That is okay as this will provide us with what we need. Make sure to get the 64-bit version when installing. We will then run the download. Click “Next”, accept the checkbox and click “Next”, and click “Ok” and it should be installed.
Turning on the Windows Search Services
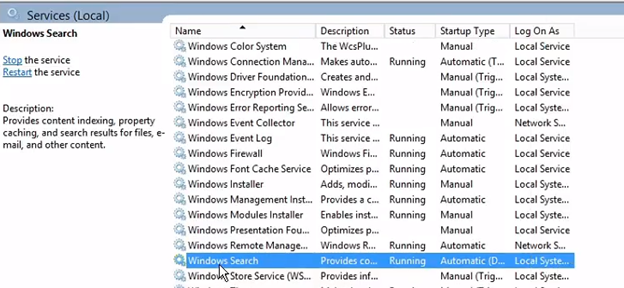
Our next step is to turn on the Windows Search Service. To get to that, go to your Server Manager Dashboard and you should see “Tools” at the top right. Click on that and select “Services”. We will then need to find “Windows Search” which may be very far down as it is alphabetical. If it is not already started, click on it and start it up as well as make sure “Automatic (Delayed Start)” is selected for startup type.
Control Panel
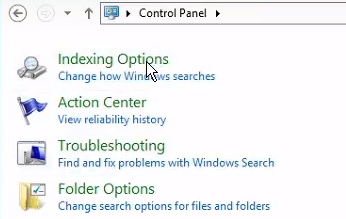
To Launch the control panel, you can right click on the Windows Icon at the bottom left of your screen and select “Control Panel”. Whilst in there, you will search at the top for “Index” and select “Indexing Options”. Now we are going to add the share drive location. We will click on “Modify” and navigate to the drive we want and select “Ok”.
Index Location
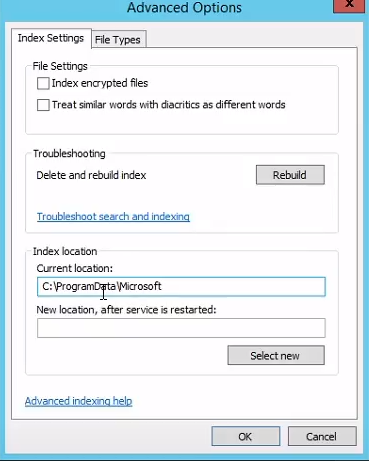
While in the Indexing options from the previous part, we will select “Advanced”. We can then change the location that we are storing the indexing files. This is very important as this file could grow large depending on how often this is used. Some good options are to create a separate drive to put this in, or make sure your C: Drive has plenty of space on it. You can also change the file types that are being indexed by going to the tab “File Types” if you would like. We can then click “Ok”.
Indexing Speed
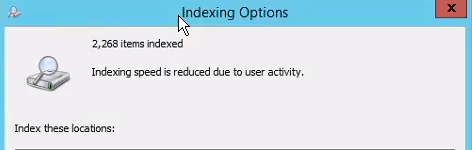
While back in the Indexing Options, you may see that “Indexing speed is reduced due to user activity”. This is caused by a user being logged in as it slows down to not use up the PC nearly as much. It is best practice to leave this running overnight. When it finishes, the file search will now be much faster and more efficient. All devices connected will also have much quicker search speeds as well.
Full Video
SUPPORT MY WORK
TECH I USE AND RECOMMEND